
Spring Roof Inspection in Minnesota: A Homeowner Checklist
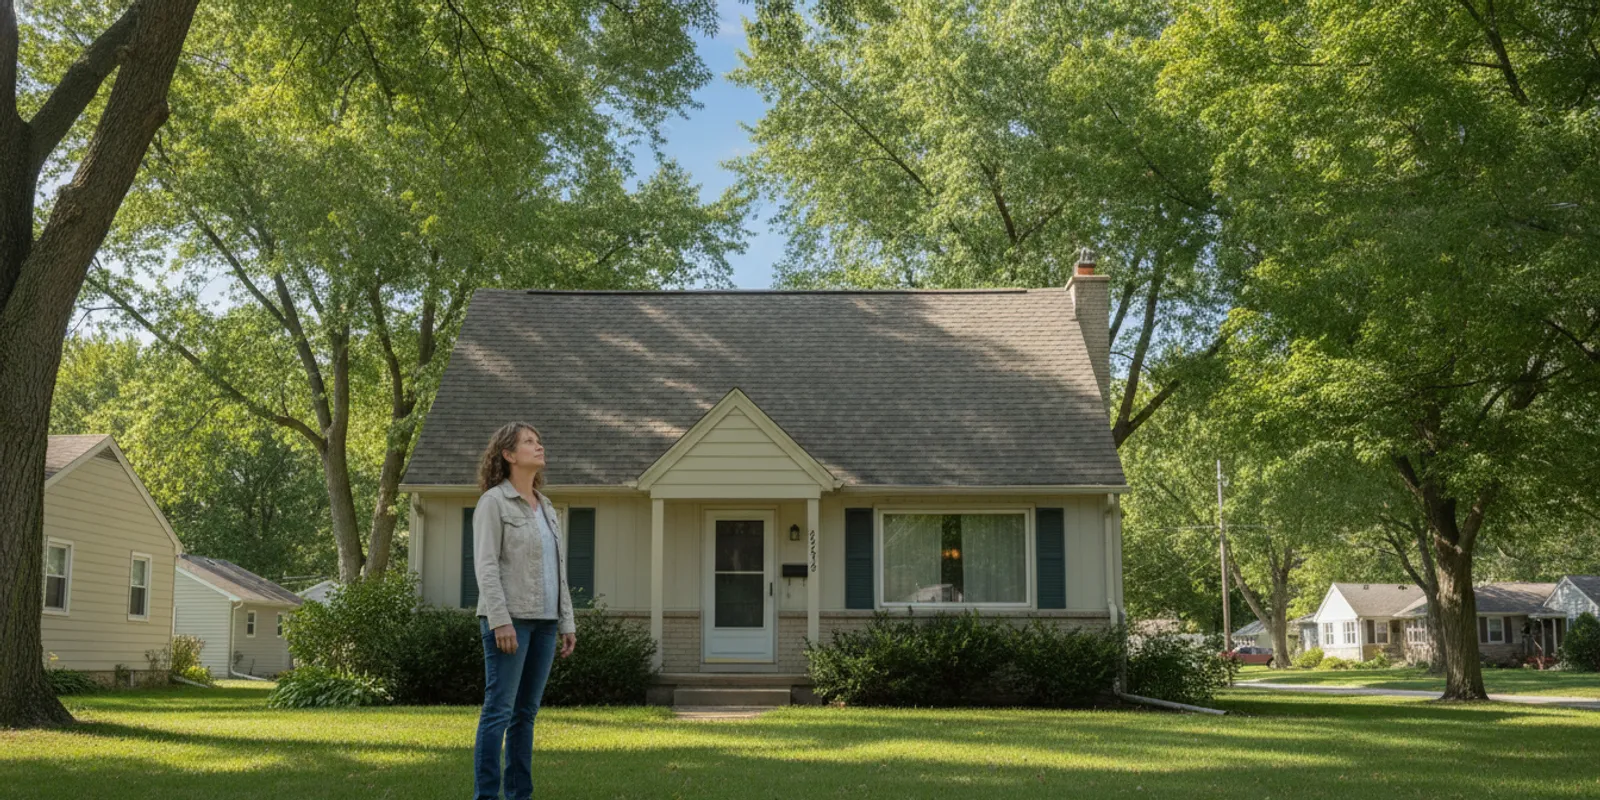
A spring roof inspection in Minnesota is a careful review for signs that winter weather may have affected your roof, flashing, gutters, or attic. Start from the ground and inside the home; do not climb onto a roof or enter an icy or unsafe area. This checklist can help you document concerns and decide whether to arrange a closer professional review.
On this page
What does a spring roof inspection cover?
A spring inspection is a focused check for visible changes and possible trouble spots after snow, ice, freeze-thaw cycles, and seasonal storms. It is not a guarantee that every roof issue will be visible from the ground. The goal is to identify warning signs, make a record, and choose a sensible next step—not to diagnose hidden damage yourself.
Look at the roof as part of the full water-shedding system. Shingles or other roof materials, edges, penetrations, flashing, gutters, downspouts, and nearby interior ceilings can all provide clues. Water may travel before it becomes visible inside, so note where you see a stain instead of assuming the stain is directly below the source.
Keep this review distinct from routine maintenance. You are asking whether anything appears to have changed over winter and whether it warrants follow-up. If you have already noticed a leak or a missing section, move from a general seasonal check to a repair conversation. Minnesota Roofing Company provides roof repair services in Minnesota for homeowners who need to discuss a roof concern.
When should you check your roof in spring?
Choose a dry day when the ground is stable and you can see the roof clearly. There is no single date that fits every Minnesota property. Snow cover, lingering ice, weather conditions, the roof's layout, and what you observed during winter all affect when a visual check is practical.
Do not wait for a calendar milestone if water is entering the home. A new ceiling stain, active drip, or visible opening deserves prompt attention. If winter conditions have only just eased, avoid stepping onto a slippery roof or ladder. A ground-level review is a safer first step while you decide what additional help is needed.
- After snow and ice have receded:
Check for visible changes to roof edges, gutters, and exterior trim once they can be seen clearly.
After a strong storm:
Look for new debris, displaced materials, or damage from the ground. For storm-related concerns, see the company's
storm damage roofing information
.
- After a leak or stain appears:
Record when it began and whether it changes during rain or snowmelt. Do not assume that a dry ceiling means the concern has resolved.
- When the roof is hard to assess:
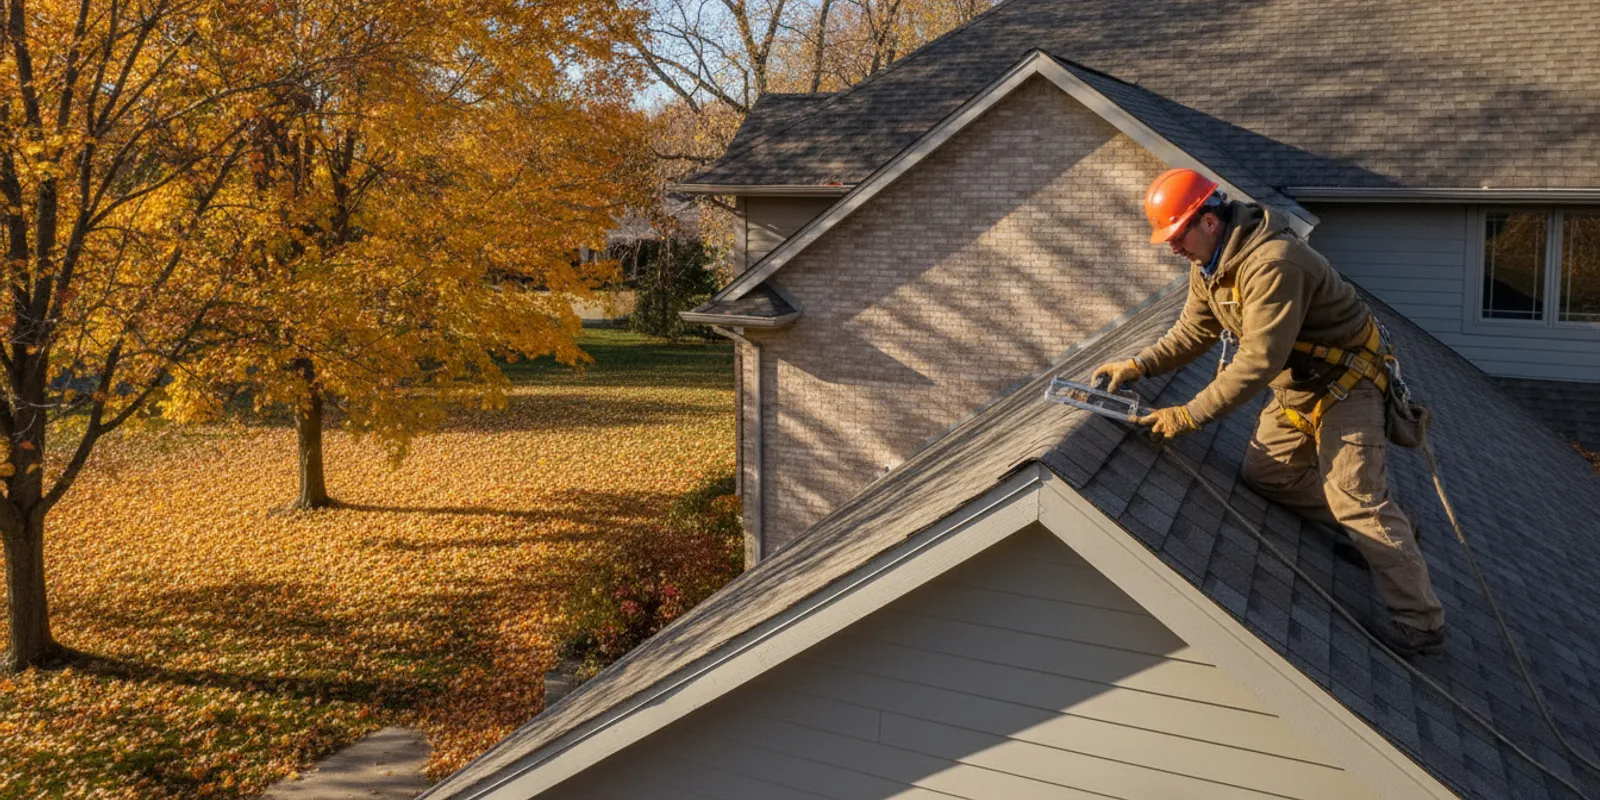
Steep slopes, multiple levels, dormers, or limited sight lines can make a ground-only check incomplete. Do not take a fall risk to improve your view.
What can you check safely from the ground?
Walk around the property only where footing is clear and safe. Use the ground, windows, or another stable location to view the roof. Binoculars can help you see details without climbing. Keep away from areas where snow, ice, or loose debris may fall, and do not lean a ladder against a gutter to get a closer look.
1. Scan the roof surface
Look for sections that appear uneven, lifted, displaced, or visibly different from surrounding areas. On a shingle roof, note any shingles that seem to be missing or out of position. From a distance, you may not be able to tell whether a mark is damage, normal variation, or debris; record the location and let a qualified professional assess uncertain details.
Pay attention to transitions and roof features as well as the broad field of material. Chimneys, skylights, vents, valleys, and changes in roof slope create areas where several components meet. You can note visible gaps or loose-looking material, but do not try to push, lift, or reseal anything from a ladder.
2. Look along roof edges, flashing, and gutters
From a safe spot, check whether the roof edge looks consistent and whether gutters appear attached and in line. Note sections that look bent, pulled away, sagging, or packed with visible debris. Look for a downspout that has come loose or is directing water toward an area where you have noticed pooling.
Do not treat a gutter problem as proof of roof damage. It is a clue to document and investigate in context. Minnesota Roofing Company also works on gutter projects; its siding, gutters, and exterior services page explains related exterior work.
3. Check the ground around the home
Notice shingle-like pieces, metal fragments, or other material that was not there before, but do not assume that every fragment came from your roof. Photograph the item where it is if safe, then note its location. Check whether water has left a new washout mark or pooled near the foundation. These observations help create a clearer picture when you discuss the property with a contractor.
4. Consider trees and nearby structures
Look for branches touching the roof or debris caught near an edge. Do not climb to remove anything, and do not pull on material that may be attached to the roof. If a fallen branch or storm event may have caused damage, keep a record of what you can see from a safe location.
What should you look for inside?
When conditions are safe, look at ceilings and upper walls for new discoloration, bubbling paint, dampness, or a musty smell. Note the room and the position of each concern. A stain can be a reason to investigate even if the roof looks intact from the ground; the source may not be visible from outside.
If you can enter the attic safely, use the normal access route and a stable floor or walkway. Do not step on ceiling joists or insulation, and do not enter if the space is wet, unstable, poorly lit, or otherwise unsafe. A flashlight can help you see without touching anything.
Look for visible moisture, darkened wood, or damp insulation, and record the general location.
Notice daylight where you would not expect it, but do not reach toward electrical wiring or wet materials.
Check whether the concern is near a chimney, vent, or other roof opening, while remembering that water can travel before appearing.
Take photographs from a safe position. Do not move insulation or stored items if doing so would create a hazard.
A small mark does not tell you by itself how extensive a problem is. Avoid cutting into a ceiling, pulling apart roof materials, or applying a temporary product unless an appropriate professional has advised you. If water is near electrical fixtures, keep clear and contact a qualified professional to address the immediate safety concern.
How should you document a concern?
Good notes make a conversation more useful. You do not need to know the technical name for a roof part. Describe what you observed, where it is, and when you first noticed it. Separate what you can see from what you suspect.
How can you prioritize what you find?
Start with immediate safety and active water entry. If water is coming into a living area, keep people away from the affected spot if there is a ceiling bulge, falling material, or nearby electrical equipment. Do not puncture a ceiling or climb outside to find the source. Contact an appropriate professional for guidance. If there is no active leak or immediate hazard, record the visible concern and arrange a suitable review based on its location and apparent change.
Next, distinguish an observation from a conclusion. “A gutter section looks lower than the section beside it” describes what you can see. “The roof is leaking because the gutter failed” assigns a cause that may not be established. A professional can consider the roof, drainage, and interior signs together. This distinction is especially useful when a stain is away from an exterior wall or appears after more than one weather event.
Finally, avoid making temporary changes that could hide evidence or introduce risk. Do not scrape, seal, or remove roofing material to test whether it is loose. Do not put a tarp on a roof yourself. If an emergency measure seems necessary, ask a qualified professional what can be done safely and what documentation to keep. Your role is to notice and record—not to perform an unsafe repair.
- Record the date and conditions.
Note whether you saw the concern after snowmelt, rain, wind, or another event. Avoid concluding that an event caused the issue unless that is established.
- Take a wide photo first.
A picture showing the side of the home or room helps identify the location. Add a closer image only if you can take it safely.
- Describe changes.
Write down whether a stain, drip, or visible roof feature appears new, larger, or unchanged compared with an earlier observation.
- Keep relevant records together.
Save photos, repair documents, and any notes about prior work. If you are considering an insurance inquiry, keep your observations factual and consult your insurer about policy questions.
- Make a short question list.
Ask what can be confirmed, what remains uncertain, and whether further review is recommended.
For example, “There is a brown mark on the upstairs hallway ceiling, first noticed after rain on Saturday; no active drip is visible now” is more useful than “the roof is ruined.” A clear description does not prejudge the repair, replacement, or insurance outcome.
What if you do not know whether a sign is new?
Say that you are unsure. A homeowner may not have a photograph of every roof slope from before winter, and roof materials can look different as lighting and moisture change. Avoid treating a difference in color as proof of damage. Instead, note the area, capture a current photo from the same safe viewpoint if possible, and compare only with records that clearly show the same part of the home.
Keep observations from separate areas separate. A mark in an upstairs bedroom and a loose-looking gutter on another side of the house may or may not be connected. If you find more than one concern, make a short numbered list and use a wide photo to show each location. That makes it easier to discuss what should be examined first without blending separate symptoms into a single assumed cause.
It is also useful to record what you did not observe. For instance, you might note that the ceiling mark is dry at the time you checked, or that you did not see debris on the ground. Such details do not rule out a problem, but they give a more balanced account than a conclusion based on one clue. If the signs change later, add a dated note rather than replacing your original record.
When is a professional roof review useful?
Consider arranging a professional review when you see missing or shifted roofing material, recurring water signs, visible damage near a roof opening, a gutter or edge that appears detached, or a concern you cannot safely evaluate. A review may also help when the roof's height or shape prevents a useful ground-level view. Ask what areas can be examined and what the review can and cannot establish.
For a suspected hail issue, document visible signs without walking the roof. The company has a guide to identifying possible hail damage, plus a page on when to discuss a roof damage claim. These resources can help you organize questions; they do not determine coverage or replace your insurer's policy guidance.
Homeowners in Columbia Heights can also visit the company's Columbia Heights service-area page. A general visual checklist is not a substitute for a site-specific assessment. If you are comparing a repair with a larger project, the roof replacement information provides a starting point for that conversation.
Before selecting a contractor, review the scope and ask who will perform the work, what the written findings include, and what follow-up is proposed. The Better Business Bureau lists a Minnesota roof inspection directory; use any directory listing as one item to verify, not as a substitute for checking a contractor's fit and credentials.
How do the review options compare?
The right next step depends on what you observed and whether you can examine it safely. This comparison can help you choose a proportionate response. It is not a repair diagnosis or a quote.
Option | Useful when | What you can learn | Important limit |
Ground-level homeowner check | No immediate leak is apparent and conditions are safe | Visible changes, debris, gutter concerns, and locations to document | Cannot confirm concealed damage or safely inspect every roof area |
Interior observation | You notice a ceiling mark, dampness, or attic concern | Where and when moisture signs appear and whether they change | Interior signs may not identify the source; avoid unsafe attic access |
Professional roof review | Visible damage, repeated water signs, or limited safe visibility | A closer evaluation of accessible roof components and possible next steps | Ask what was reviewed; findings do not automatically establish insurance coverage |
Repair or replacement discussion | A review identifies a repair need or broader condition to consider | Potential scope, materials, and project questions for your property | Options depend on the actual roof and should be explained for your situation |
What information should you prepare before a roof conversation?
Gather the observations that can help a contractor understand why you are asking for a review. You do not need to perform a technical inspection first. Clear photos and a concise timeline are more helpful than guesses about what must be repaired.
- Property location and access notes:
Mention which side or area concerns you and any access limits you know about.
- What you observed:
Describe missing-looking material, a stain, a gutter concern, or another visible change without labeling it as a confirmed defect.
- When it began:
Include the approximate date and whether you noticed it after a particular weather event.
- Prior work or recurring issues:
Share relevant records if available, especially if the same area has been addressed before.
- Your questions:
Ask what the next step involves, what areas will be reviewed, what findings will be documented, and whether further work is optional or urgent.
If you are seeking a project estimate, Minnesota Roofing Company's tool is described as a Fast + Free Instant Estimate. An instant estimate is not the same as confirming every roof condition in person or finalizing a complete project scope. Share your specific observations during the follow-up conversation, and ask what additional information may be needed. For general planning, you can also review the company's roof financing information.
Frequently asked questions
Can I inspect my roof myself in spring?
You can make a useful visual check from the ground and look for interior signs when safe. Do not walk on a roof, climb an unstable ladder, or enter an unsafe attic. A ground check can identify concerns to discuss, but it cannot confirm every hidden condition.
What are common signs to note after a Minnesota winter?
Note missing- or shifted-looking roof materials, visible debris, changes near roof openings, loose-looking gutters, new ceiling stains, or signs of moisture in an accessible attic. These are observations, not proof of a particular cause. Photograph them from safe positions and ask a qualified professional about anything uncertain.
Should I wait until all snow is gone?
Wait until you can view the area safely and clearly, but do not wait if water is actively entering the home or a visible hazard needs attention. Keep away from ice and falling debris. If you cannot see the roof without climbing, seek an appropriate professional review rather than taking a risk.
Does a spring roof review tell me whether insurance will pay?
No. A roof review may document visible conditions, but coverage depends on your policy and the insurer's process. Keep your notes factual and contact your insurer for policy and claim questions. Do not assume that an inspection guarantees approval or a particular repair outcome.
How do I request an estimate or discuss a concern?
You can use the company's Fast + Free Instant Estimate tool to begin an estimate request. Include the location of the concern and any safe photographs or notes. Ask what further review is appropriate for your roof and situation.
A calm, safe review helps you identify what changed, preserve useful details, and choose a next step based on what your roof actually needs.

Comments